

Waterproofing is crucial for tiled areas with plumbing, such as bathrooms, kitchens, and laundry rooms. Proper waterproofing prevents water damage, mould growth, and structural issues. This guide will provide you with essential tips for ensuring your tiled areas remain watertight.
Choosing the Right Waterproofing Membrane
Liquid Membranes
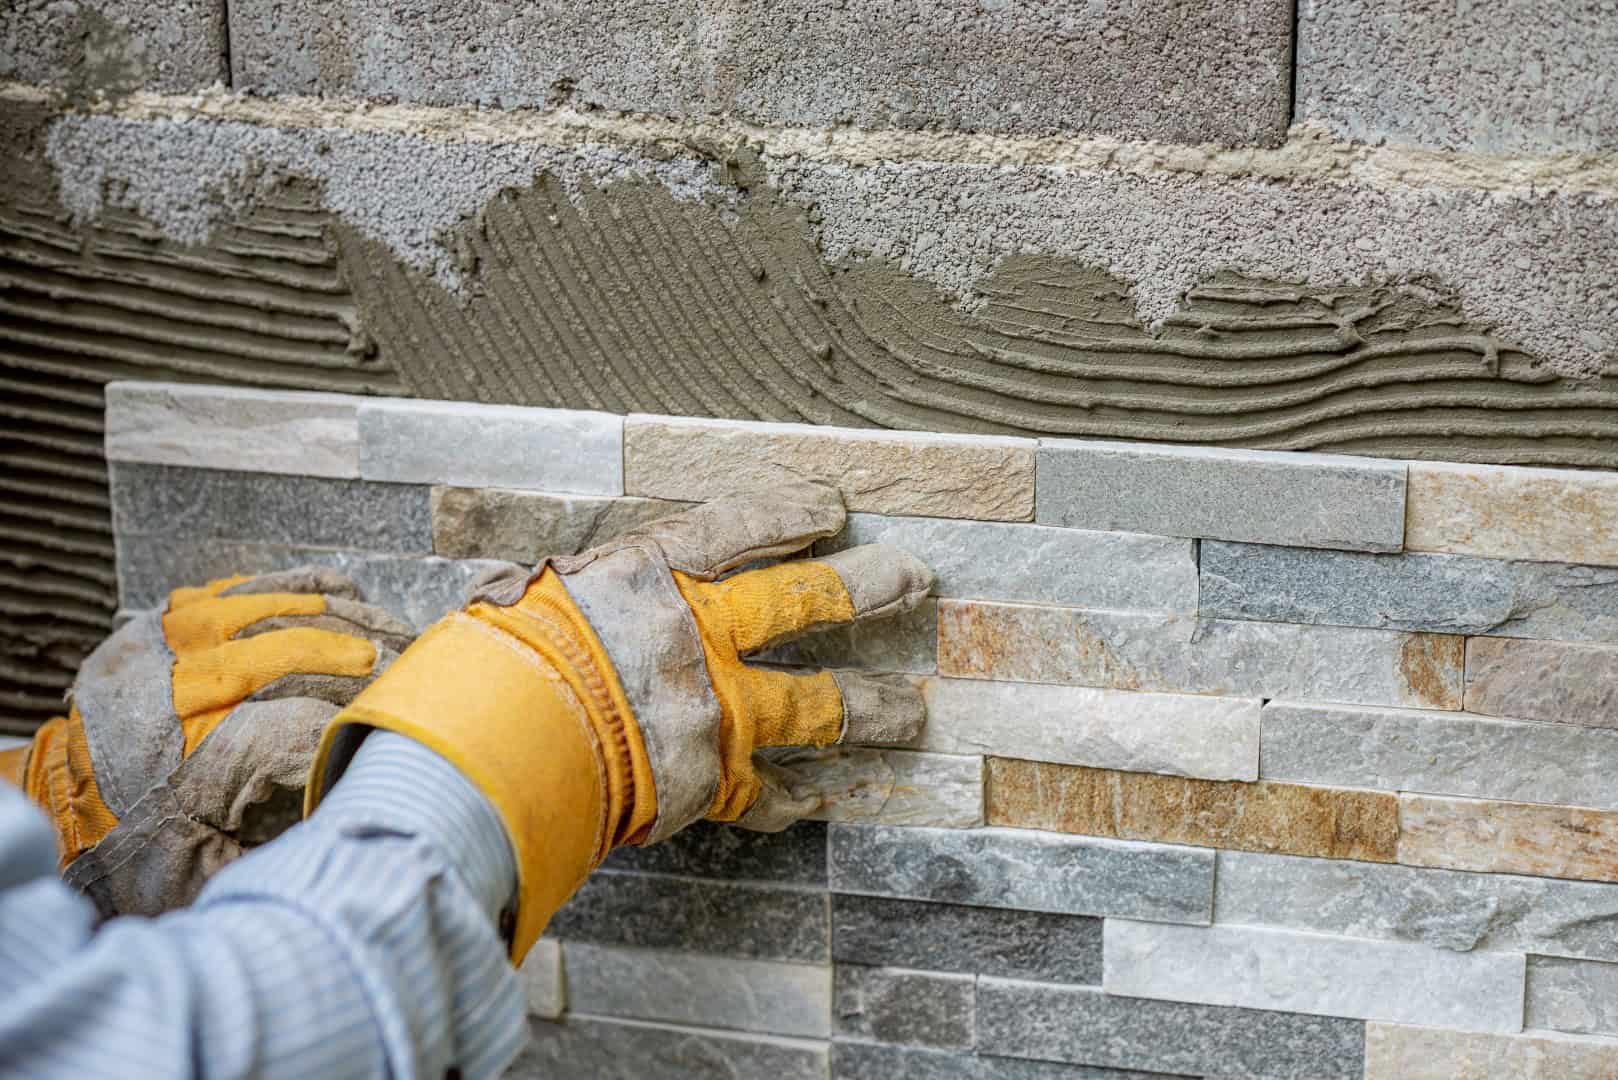
Liquid waterproofing membranes are popular due to their ease of application and seamless finish. These membranes are applied with a roller, brush, or spray, creating a continuous barrier against moisture. They are ideal for irregularly shaped areas and can be used on floors and walls.
Sheet Membranes
Sheet membranes offer a reliable and consistent waterproofing solution. They come in rolls and are adhered to the substrate with a special adhesive. Sheet membranes are particularly effective for areas with heavy water exposure, such as shower floors. Ensure all seams are properly overlapped and sealed to maintain effectiveness.
Preparing the Surface
Clean and Dry
Before applying any waterproofing membrane, ensure the surface is clean and dry. Remove any dust, grease, or old adhesive residues. Moisture or contaminants can prevent proper adhesion and compromise the waterproofing.
Repair Cracks and Gaps
Inspect the area for any cracks or gaps in the substrate. Use a suitable filler or sealant to repair these imperfections. This step is crucial to prevent water from seeping through weak points and causing damage.
Applying Waterproofing
Priming the Surface
Applying a primer before the waterproofing membrane enhances adhesion and ensures a strong bond. Choose a primer compatible with your membrane type and follow the manufacturer’s instructions for application.
Multiple Coats
For liquid membranes, apply multiple coats to achieve the recommended thickness. Each coat should be allowed to dry completely before the next is applied. This layering creates a robust barrier that can withstand prolonged exposure to moisture.
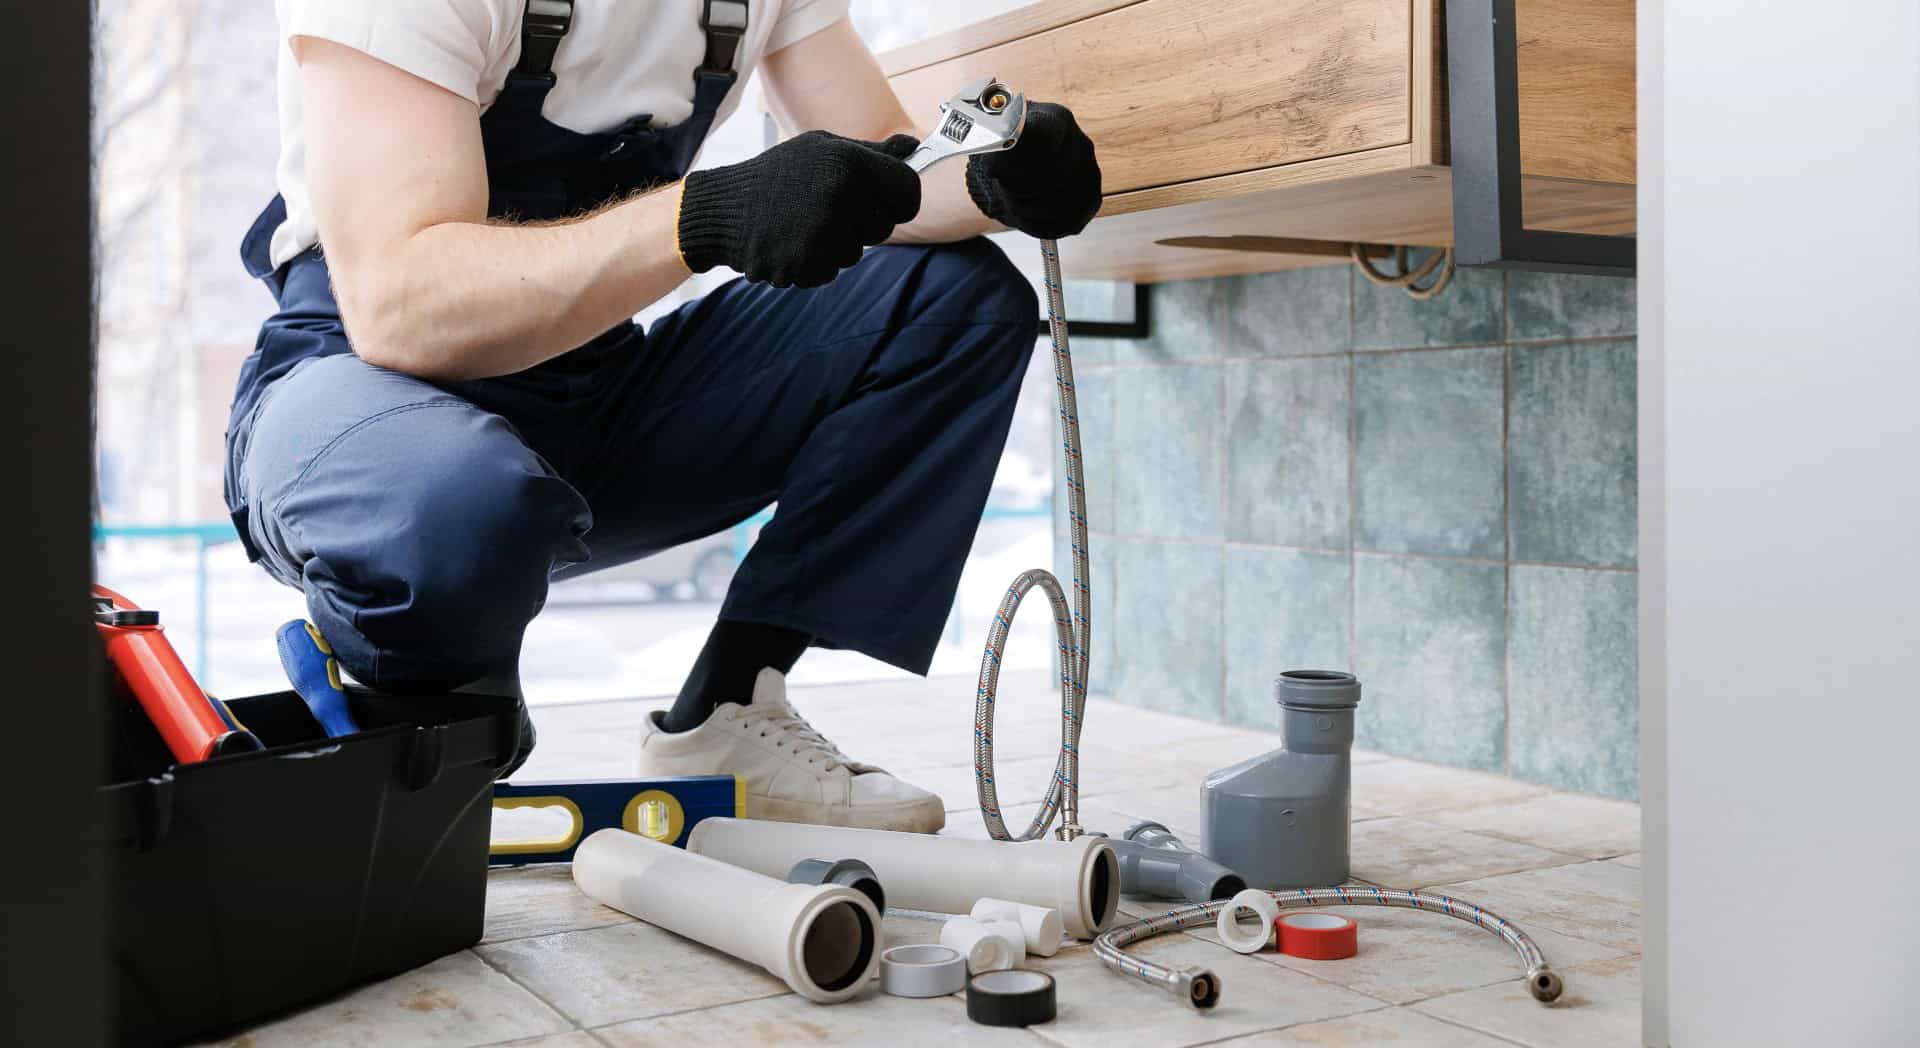
Sealing Plumbing Fixtures
Around Pipes and Drains
Special attention is needed around plumbing fixtures like pipes and drains. Use a high-quality sealant to create a watertight seal around these areas. Silicone sealants are flexible and effective for this purpose. Ensure all gaps are filled, and smooth the sealant to avoid any weak points.
Waterproof Tape
Waterproof tape can be used in conjunction with liquid or sheet membranes to reinforce areas around plumbing fixtures. Apply the tape over seams and joints before applying the membrane for added protection.
Final Checks and Maintenance
Inspect Regularly
Even after successful waterproofing, regular inspections are necessary to ensure the integrity of the tiled area. Check for signs of wear, damage, or leaks, and address any issues promptly.
Reapply Sealants
Over time, sealants around plumbing fixtures may degrade. Reapply sealants periodically to maintain a watertight seal. This proactive maintenance can prevent minor issues from escalating into significant problems.
Keep Water Where It Belongs
Waterproofing tiled areas with plumbing is a vital step in protecting your home from water damage. By choosing the right materials, preparing the surface properly, and applying waterproofing with care, you can ensure a long-lasting, watertight finish. If need professional assistance, reach out to an expert waterproofing organisation who can guide you through the process or give a quote to complete. Regular inspections and maintenance will keep your tiled areas in top condition, ensuring water stays where it belongs – safely contained within your plumbing fixtures.